
Organizing your Greeting Cards for the Year Ahead
I’m not sure that many people send birthday cards, anniversary cards, the random holiday (Valentine’s Day, Easter, Halloween?!) except maybe to kids or for their annual Christmas card list! I guess I might be one of a few who still loves sending and receiving mail - fun mail, not bills, obviously. I still love a magazine subscription - and obviously getting packages in the mail. I was inspired by a Laurel Denise Instagram post earlier this year to plan out your greeting cards for the year. Yes, for the WHOLE YEAR. Duh. Why didn’t I ever think of this before?
This inspired me to host my very first “Let’s Get Organized” workshop at a local coffee shop (shout-out to the Reister’s Daughter — not only with great tea and pastries — but a great cozy environment to work in!). My goal for this workshop was to have focused time to work on whatever part of this process you wanted to do! And no matter when YOU read this post - it’s never too late to start spreading some joy through mail. :)
Let’s Get Organized - shall we?
This is MY step-by-step process. By NO MEANS do you need to do ALL these steps - but it helped my brain to break it down step-by-step, and to tackle the “boring” steps first to help get. it. done. Here we go —
FIRST - The Boring Admin:
This list mainly assumes you are sending birthday cards - but get creative! If you want to do other seasonal cards, add reminders to yourself at this point.
Make a list of WHO you want to send cards to. Bonus: Do you want to remember who you sent them to next year?? Then save this list in your Notes app, Excel, or Google Sheets to remind you.
Add their birthdays to the list - even better, sort the list by the birthday to help you prioritize getting the cards done.
Add the mailing addresses to the list!
Buy Stamps :) Omg - I didn’t realize how many fun stamps there are available. I would recommend buying one sheet at a time and go back in a few months and see what’s new. OR if you don’t think that is fun - buy a LOT now since they are forever stamps and you won’t need to buy more until you run out!
You can certainly buy online, but I tend to go into my local post office and flip through their options!
Finally, stamp & address ALL the envelopes you want to send over the next few months (or the whole year! whatever time frame makes you happy!).
NOW - Let’s get the cards together!!
Buy cards —- check out Etsy, Target, Home Goods, Paper Source, local boutiques tend to have local artisan cards as well - so you can keep your eye out next time you’re shopping.
Some local Maryland artists who’s work I like are: Stephanie Madsen and Annie Howe
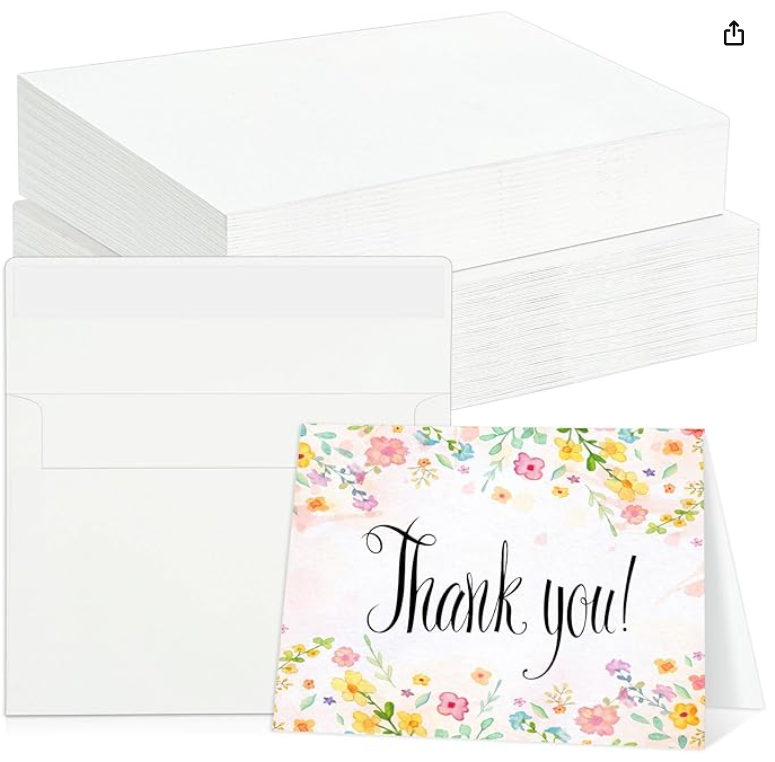
OR get creative — and make your cards! I also tend to have extra envelopes from Christmas card mailing that I’ve hoarded over the years - or you can buy some from Staples, Amazon, etc.!
This link takes you to my Pinterest page - I have pinned a few different boards of watercolor inspo for birthday cards, thank you cards, and Valentine’s Day inspo. I really try to pick one’s that look simple but stylish - since I’m no watercolor expert, by any means!!
Lastly, set yourself up for success!
I use a portfolio (linked below!) to label by months (two at a time for this particular portfolio), and put in all my envelopes. I also used sticky notes (linked below) to label when I needed to mail them. This portfolio is in a prominent place where I won’t forget about it! Last thing you would want to do is get these cards done and then forget to mail them!
One other consideration is that you can wait to write your message in the card until it’s time to mail! I know that since I’m doing blank cards, I don’t necessarily want to write in it until it’s time to send - but that’s just me! :)
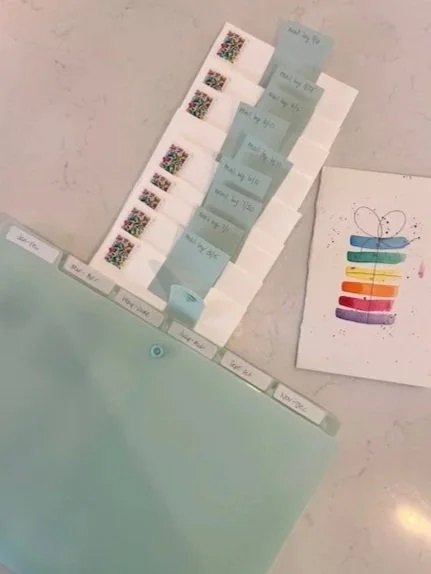
All ready to go!
Envelopes are stamped, addressed, and labeled with when to mail!
Here are some links to supplies that could be helpful in this project! I’ve used all of these, but you can certainly use what you have on hand!
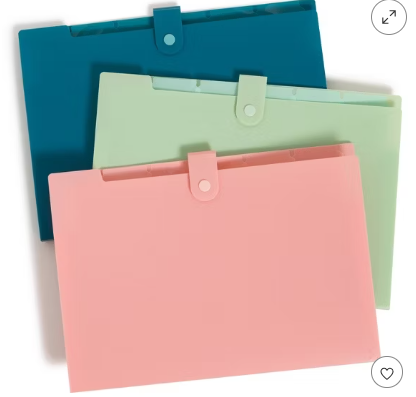
Portfolio Organizers
I liked this pack of three from Target - more than I needed, but enough to share! Has 6 sections so did 2 months in each.
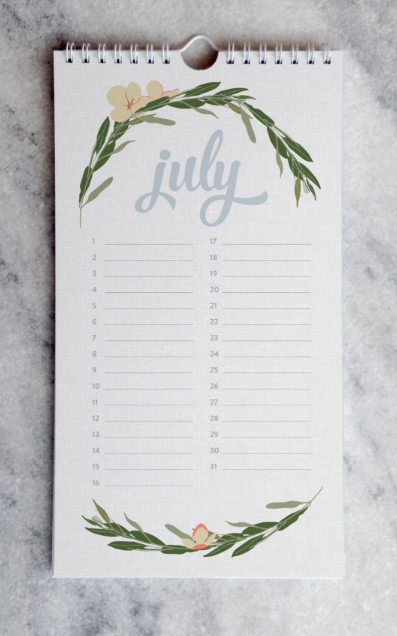
Perpetual Calendar
The best place I’ve found to find a cute calendar is Etsy — lots of options! Use this to track and add birthdays. I like adding the birth year for new babies :)
Watercolor Cards
I ordered these - and love them. Plain cards to paint your creative (and as BASIC as you want - NO PRESSURE HERE!). See my Pinterest link above for watercolor inspiration!
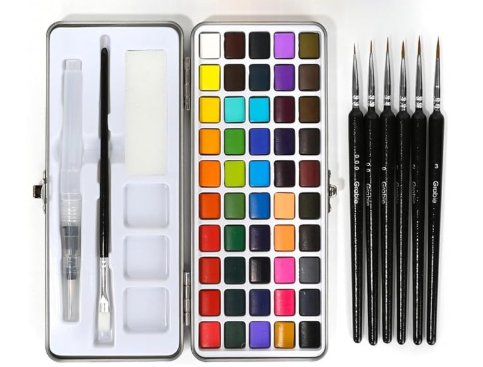
Watercolor Set
You can certainly use ANY watercolor set. I wanted to buy one that was travel friendly as I have aspirations to do this when we travel! I saw a few good ones at Home Goods for less than $10!
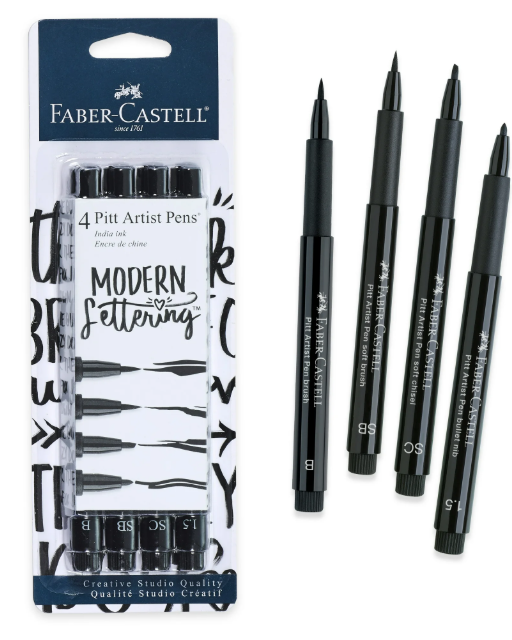
Waterproof Pens
These were worth the splurge — once they dry, you can watercolor with smudging, or after you watercolor, add these in for your birthday wish and it really makes your card look professional!
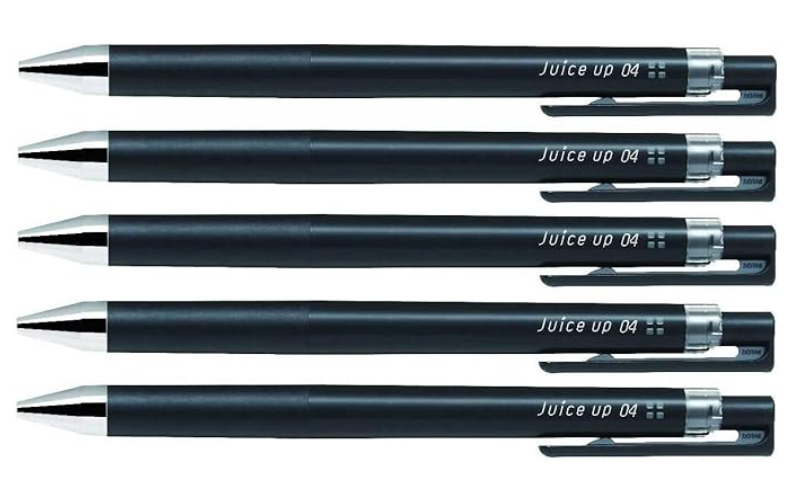
Pens
My current faves - these are for writing your message in the card. I love these also for my planner! They write SUPER fine & are also a Laurel Denise fave. IYKYK.
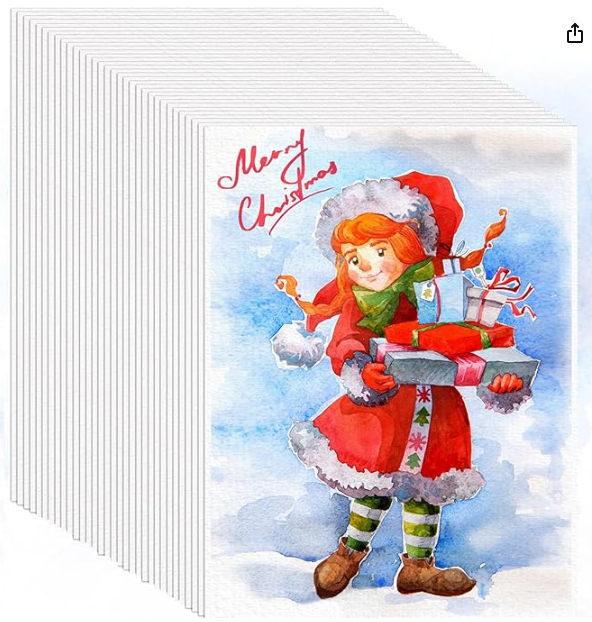
Watercolor Paper
This is a bonus link - did NOT use these for cards, but for those with kids, you know if you start a new fun project, they usually want in too! This is 100 sheets of watercolor paper. You can make it go further too by cutting into smaller pieces. We even used these for our Valentine’s Day cards!
Laurel Denise - Sticky Notes!
I have WAY too many packs of these. For this project, I used them to stick on my envelope and write the date to mail my card! Then, the envelope went into the portfolio!
Note: I do not earn any commission off of these links!
Have any questions for me?! Happy to help! Let me know below!
Would also love your go-to place for buying cards, or what artist you like to support!